
Imagine trying to find the gardening books in a library you’ve never visited before. You walk impatiently up and down all the aisles. Where could they be?
A librarian comes to your rescue. She knows where to look. And of course, she guides you immediately to the right spot.
A search box is your website’s friendly librarian.
She’s ready to guide visitors to exactly what they need. And she has a very important job to do. If your visitor can’t find what she’s looking for and (and it has to be fast) then she’ll get impatient and tries Google or use AI instead.
You don’t want that. You want your visitor to stay and explore once she has discovered your site. When she enjoys your content, she would rather search your site for your unique perspective or solution.
This is where a search box shines. The good news is, adding one to your Showit website is simple.
Here’s what to do…
Where to put the search bar
First, make your search bar impossible to miss. You do not want visitors hunting for the very tool meant to help them. Surprisingly, many websites make this mistake. The search box is small and almost greyed out.
Avoid this pitfall by placing your search box front and center on your blog page. Position it at the top, and make sure it is large enough to catch the eye.
How to insert a search bar on your Showit site
Showit uses WordPress’s search function. When you search on your site, it will only be from your blog posts. It will not show results from other pages on your website.
Here’s how you add a search box to your blog page:
- Go to your blog template page.
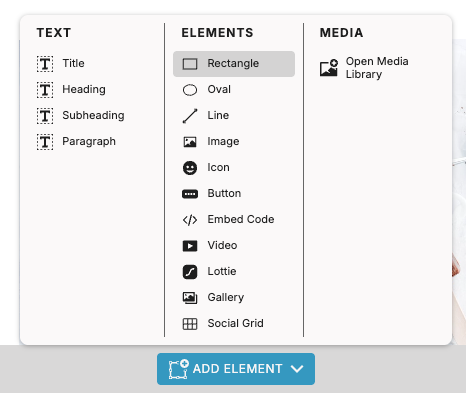
- Click on the blue button Add Element at the bottom of the screen.
- Choose the option Rectangle.
- Showit positions a rectangle on your blog page. Move it to where you want to have your search bar.
- Design the rectangle in the way you like, for example with a border around it.
- Click again on the blue button Add Element at the bottom of the screen
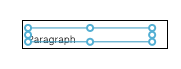
- Choose paragraph
- Move to the paragraph box to the top of the rectangle you just made
- Align the two boxes
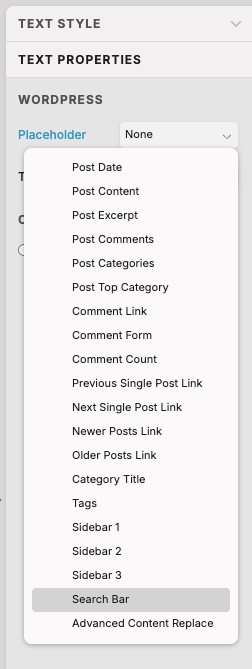
- Now it’s time to convert your paragraph to a regular search box. You do that by choosing Text Properties to the right
- In the menu Placeholder click on Search bar
- Change the word Paragraph with something like Search the blog
Optional:
This step is optional, but you can further help your visitors find your search box by adding a small magnifying glass icon to it. Simply click Add Element again and select Icon.
Click the Swap icon in the top-right corner of the screen to swap the icon from a smiley to a magnifying glass. Move the magnifying glass in place.
Note. The search bar works only from the moment you publish your blog to the internet.
Summary
Congratulations! You’ve added a search box, making it easier for your visitors to find your content. Remember to try it yourself. It’s always a good idea to test to ensure your site works as you expected.
Showit displays search results on a standard results page, based on your Blog (Post List). If you prefer a different look, you can create your own custom search results page.
